From negative
to finished file.
Five steps. Open the details only if you need them.
Install
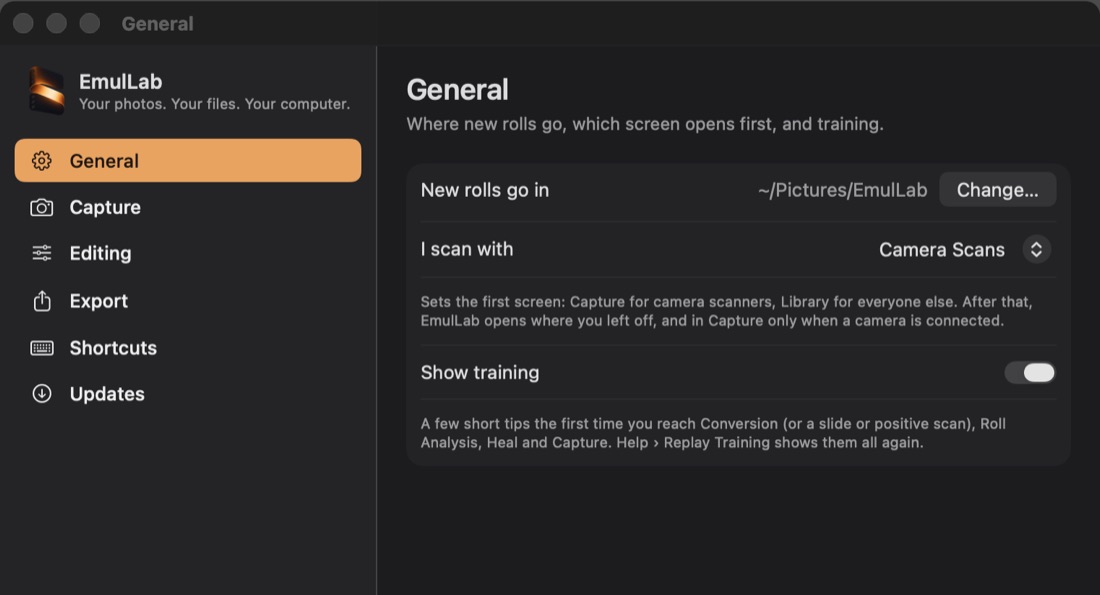
Open the disk image and drag EmulLab to Applications. The first time it opens, choose where new rolls go and how you scan.
Change these later
Both are in Settings (⌘,). Your scans stay ordinary files wherever you keep them; EmulLab never moves or changes them. Short tips point out the controls the first time you reach each part of the app; Help › Replay Training shows them again.
Scan your negatives
Photograph each frame in RAW with a macro lens over an even light. Include a little of the clear film border.
Scanning tips
- Keep the film flat and the camera square to it.
- Don’t let the clear film base clip to white: the border is how color is measured.
- Scan the whole roll at one camera exposure, so frames can be matched.
- Flatbed or lab scans? Use them as they are: choose Positive in step 4.
Open the roll
Choose File › Open Folder of Scans (⌘O), or pick a folder under Folders in the sidebar. There’s no import step.
Scanning straight into the app
In Capture, connect your camera over USB and press Capture Frame (Space), or choose a watched folder that your tethering app saves into. Each frame converts as it arrives.
Convert
Check the film type, then click Analyze Roll so the frames share one color balance and contrast.
Which film type?
- Color for C-41 color negatives.
- B&W for black and white negatives.
- Slide for E-6 slides.
- Positive for flatbed and lab scans that are already positives.
EmulLab guesses for you; your choice always wins.
Edit and export
Crop, adjust tone and color, try a Lab Look, heal dust, then export with File › Export (⇧⌘E).
Contact sheets and backups
File › Export Contact Sheet (⇧⌘P) makes a PDF or JPEG of the roll. Your edits live in the catalog, which is backed up every day; back up your scans separately.