Built for film.
From start to finish.
One Mac app for the whole roll. This page lists what the Public Beta does today; what comes later is on the roadmap.
Every frame converted
the moment it arrives.
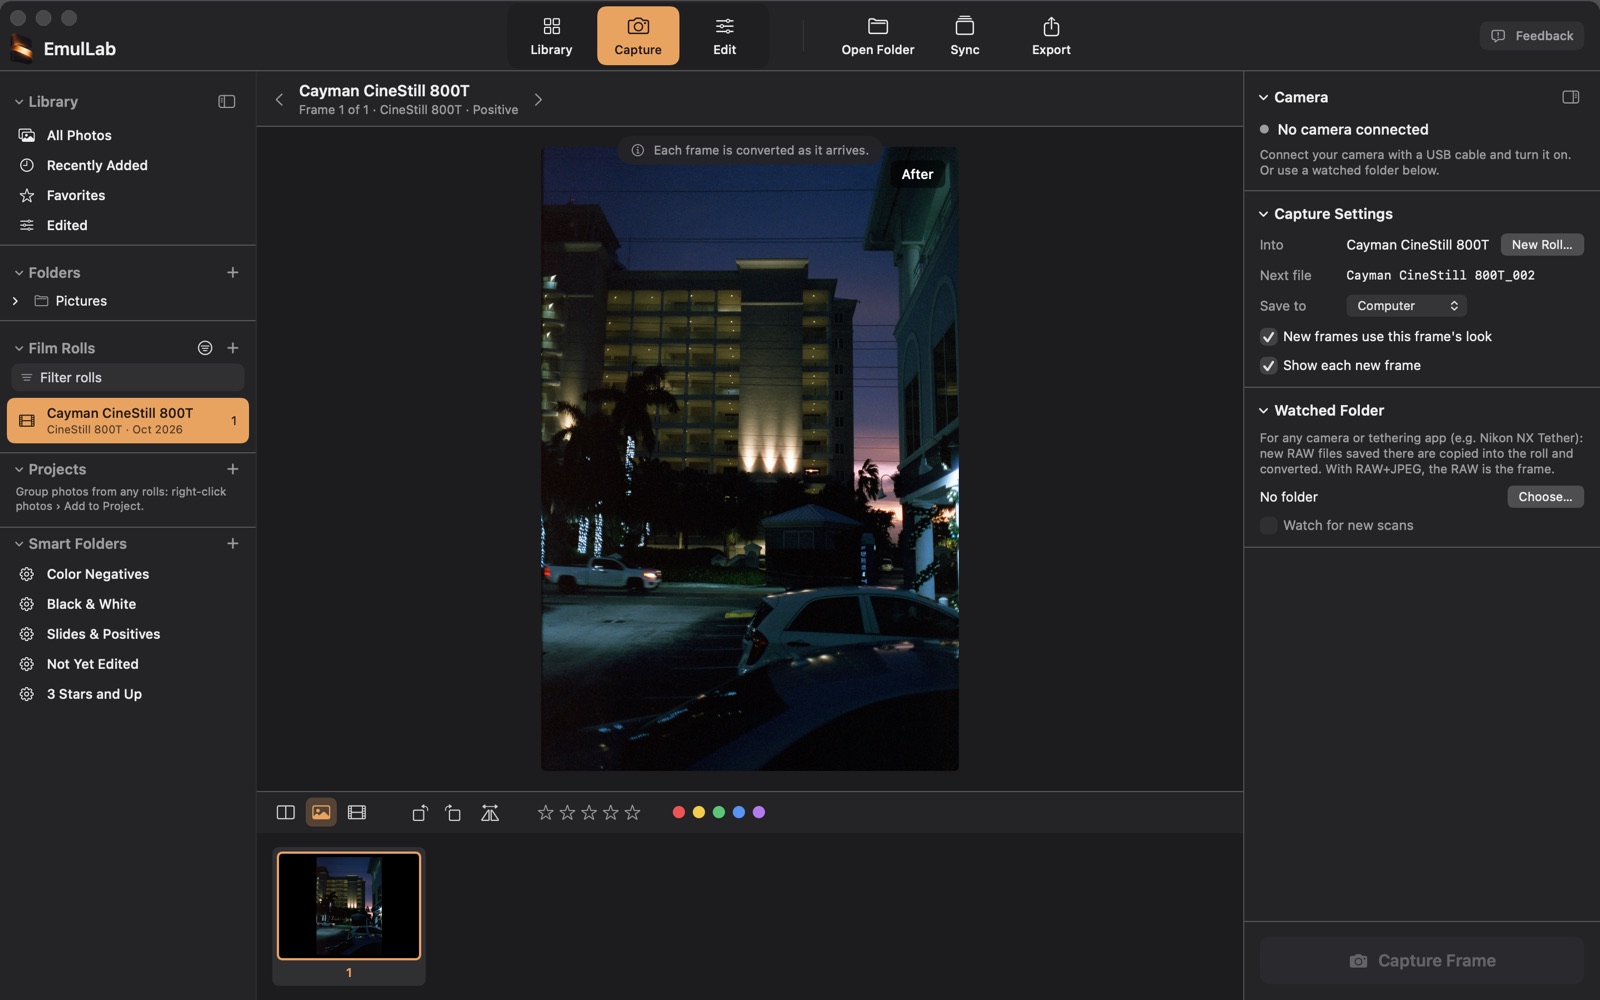
Scan with a digital camera and bring each frame straight into the roll.
- Trigger a USB-connected camera and import each shot (tested with the Nikon Z 9)
- A watched folder for any camera or tethering app
- Each frame converts as it arrives; new frames can take the current frame’s look
More about capture 3
- Or open a folder of scans you already have: there’s no import step
- Captured files go to your computer, into the roll’s folder
- What a camera can do over USB depends on the camera: see camera compatibility
Let the negative be
the starting point.
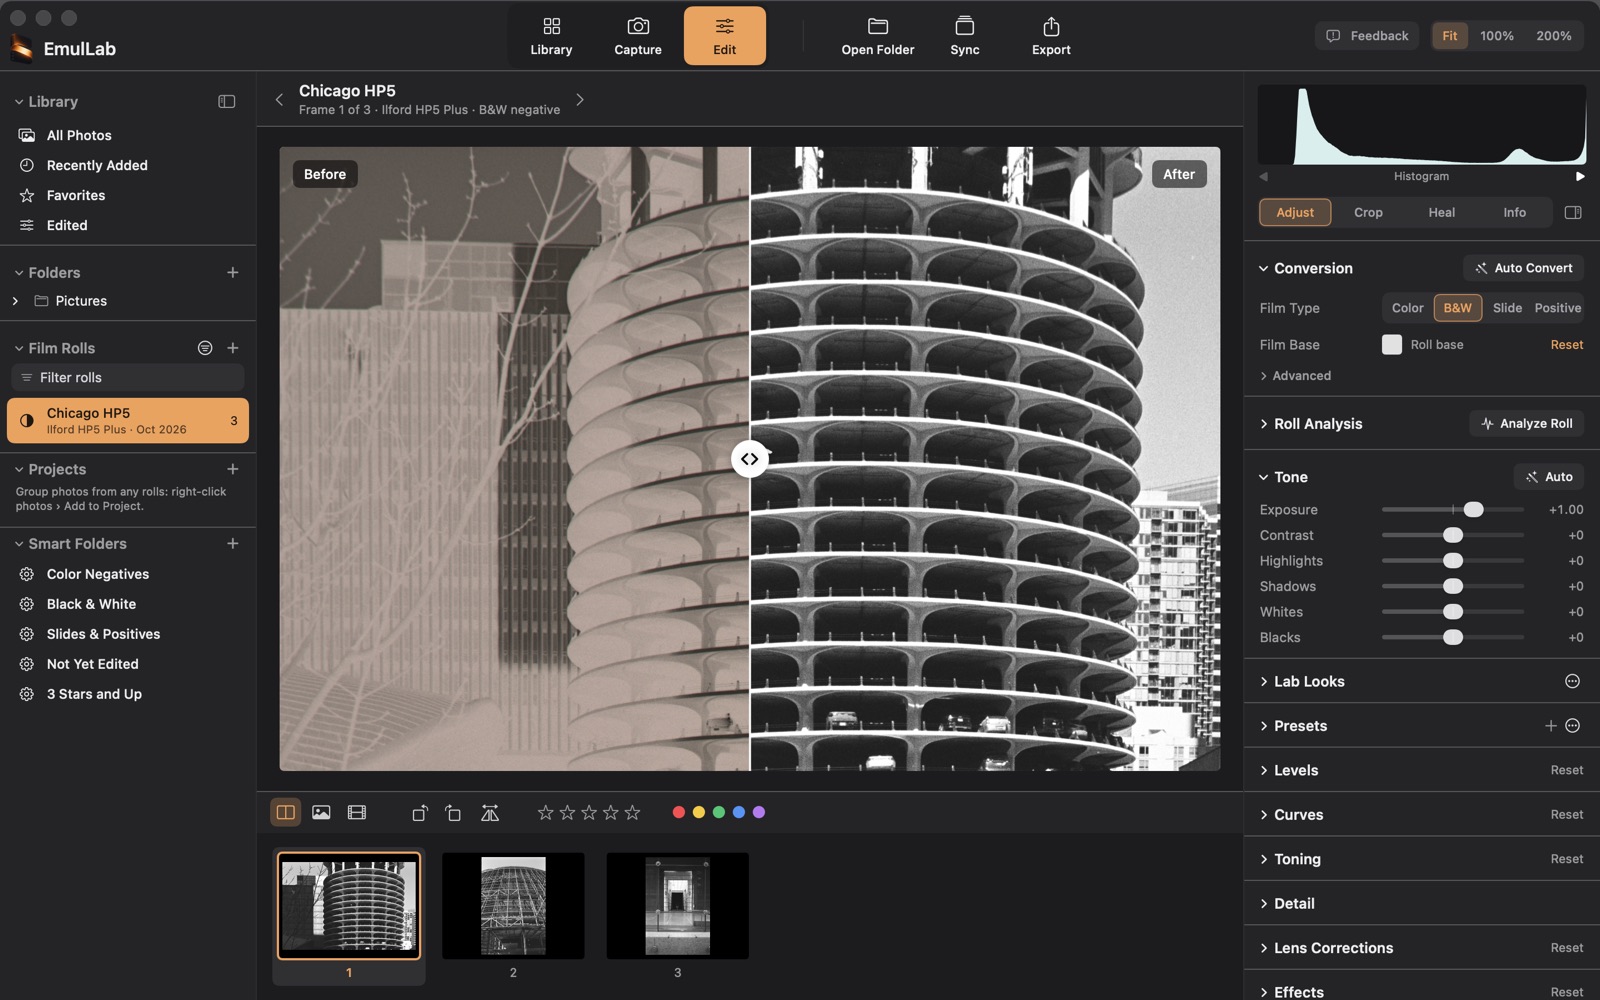
Color negatives (C-41), black and white negatives and slides (E-6) from camera scans. Flatbed and lab scans come in as positives, without a second inversion.
- Film base read from the unexposed film border, and color balanced off it
- Analyze Roll: one color balance and contrast for the whole roll, so frames match
- Auto Convert and Auto Tone as a starting point
All conversion tools 3
- A neutral-point eyedropper for fine color balance
- Updates don’t change how your edits look: each conversion keeps the version it was made with
- Camera RAW files from most makers, plus TIFF, JPEG and PNG
Small corrections.
A photograph that feels right.
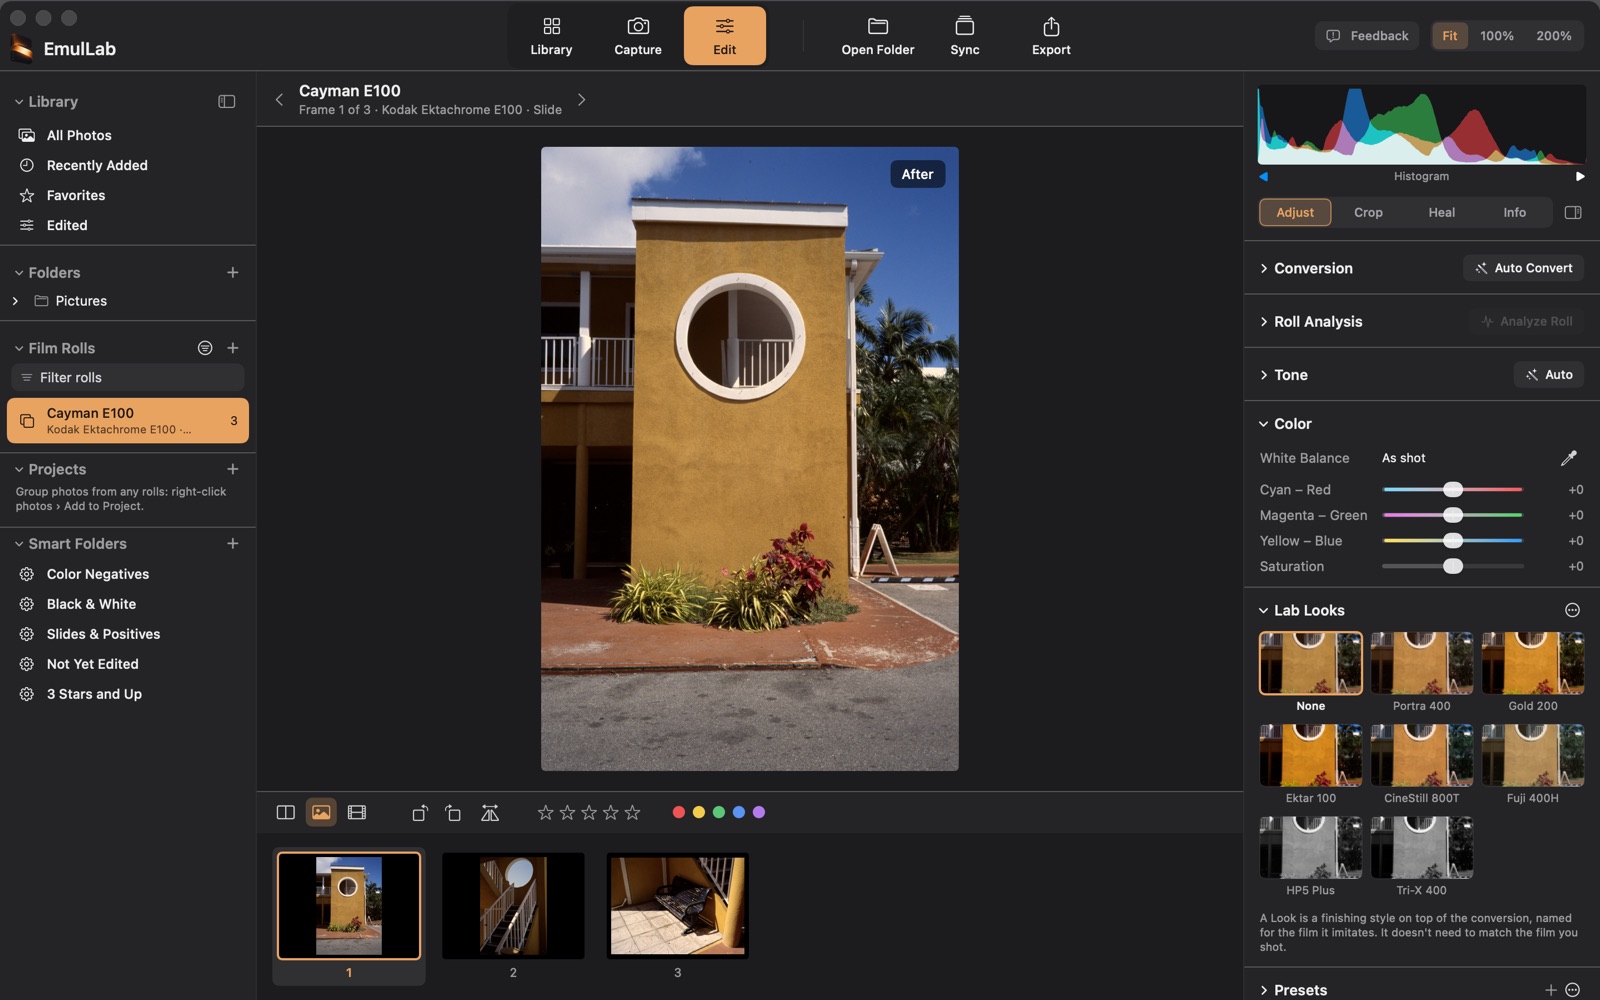
Keep the texture and character of your film while you refine the image. Edits are non-destructive and kept in the catalog; the scan file is never changed.
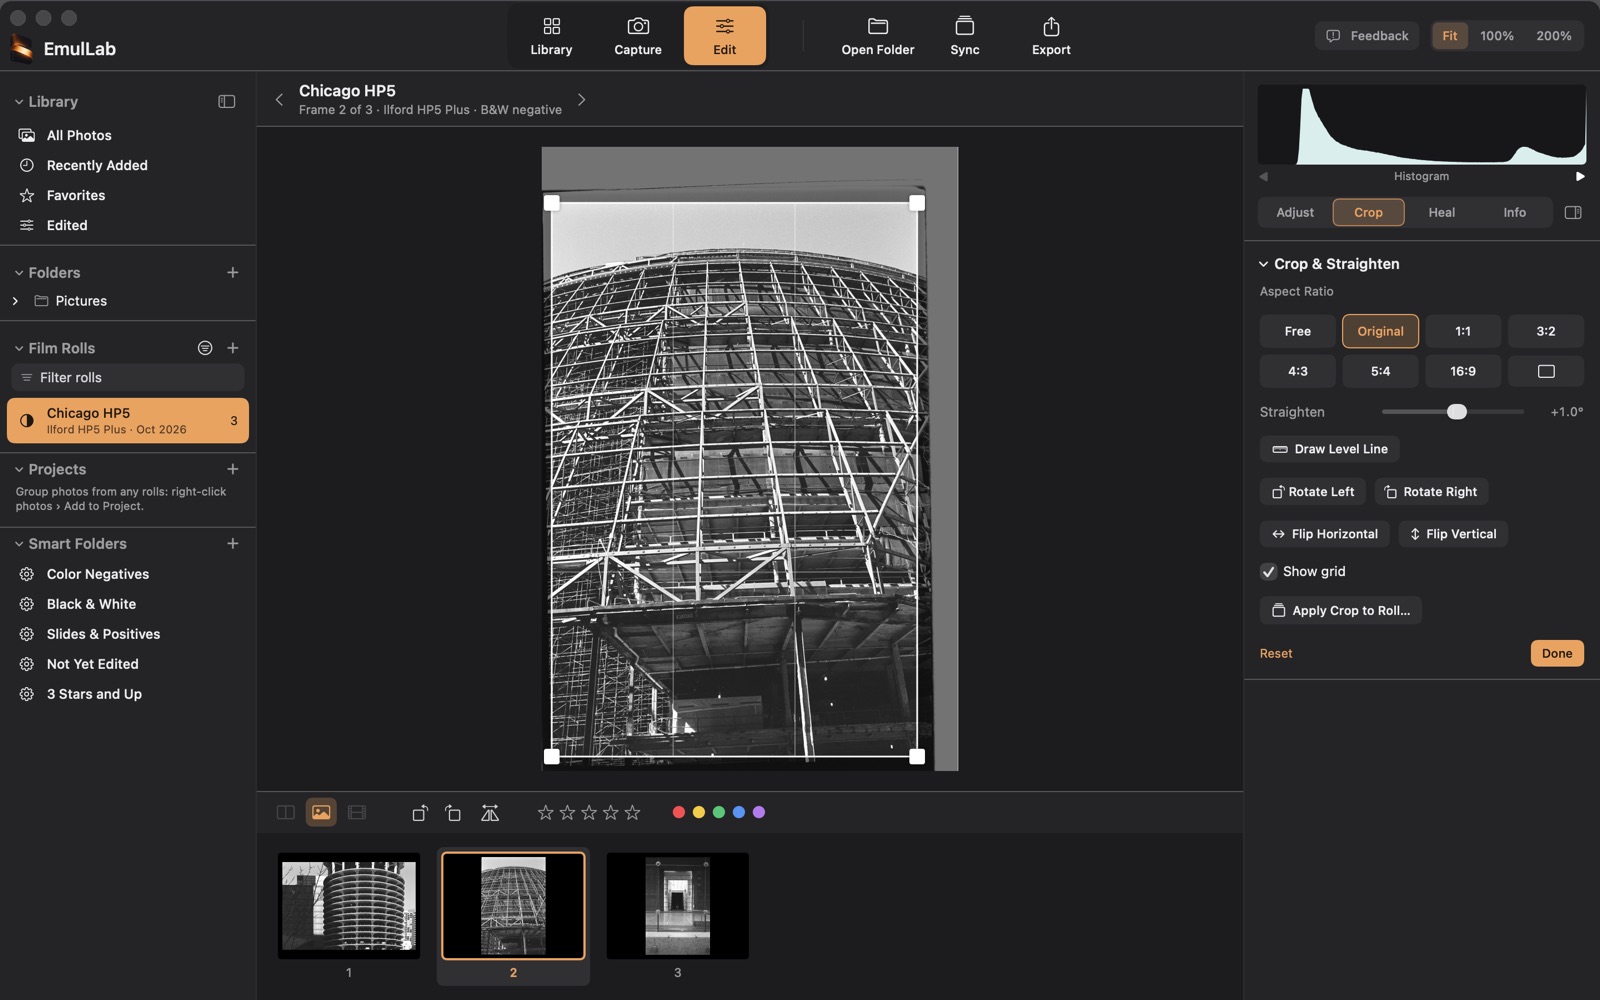
- Crop, straighten, rotate and flip
- Tone, white balance, curves, HSL and color grading
- Lab Looks named after film stocks, built from our own scans and published film data
- A Before/After split, and zoom to 100% or 200% with a navigator
All editing tools 9
- Exposure, contrast, highlights, shadows, whites and blacks
- Levels, and tone curves for RGB and each channel
- Sharpening, grain and vignette
- Lens corrections for vignetting, distortion and color fringing
- A flat field made from a blank shot of your light source
- Your own develop presets; copy, paste and sync settings across frames
- Straighten by drawing a level line
- Pinch or scroll to zoom, and drag to pan
- Hide one or both side panels, and save panel layouts as workspaces
Brushes, gradients, noise reduction and virtual copies are on the roadmap.
Spot the dust.
You decide what goes.
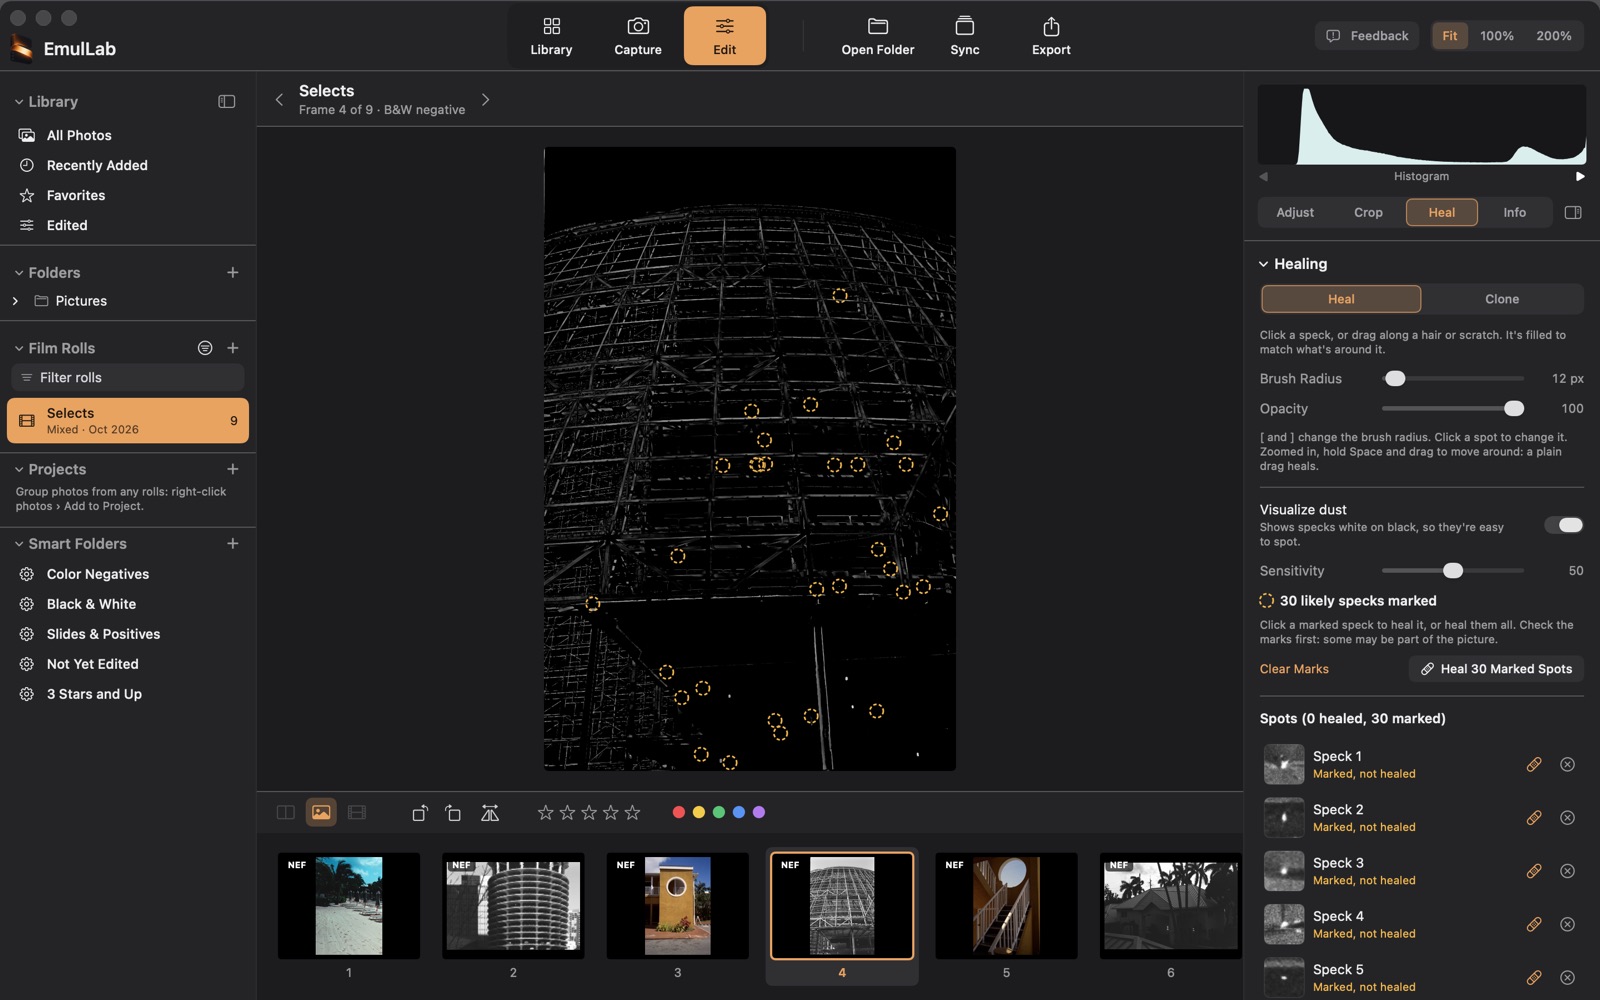
Remove dust, hairs and scratches by hand, or let EmulLab point out likely specks first.
- Heal: click a speck, or drag along a hair or scratch; it’s filled to match what’s around it
- Clone: copy from a spot you choose
- Find Likely Dust marks specks for review. Check the marks, then heal the ones you keep
All healing tools 4
- Brush radius, feather and opacity
- Move, resize or hide any spot later
- Visualize Dust shows specks white on black, so they’re easy to see
- Find Likely Dust can also mark texture or edges in the picture: always check the marks
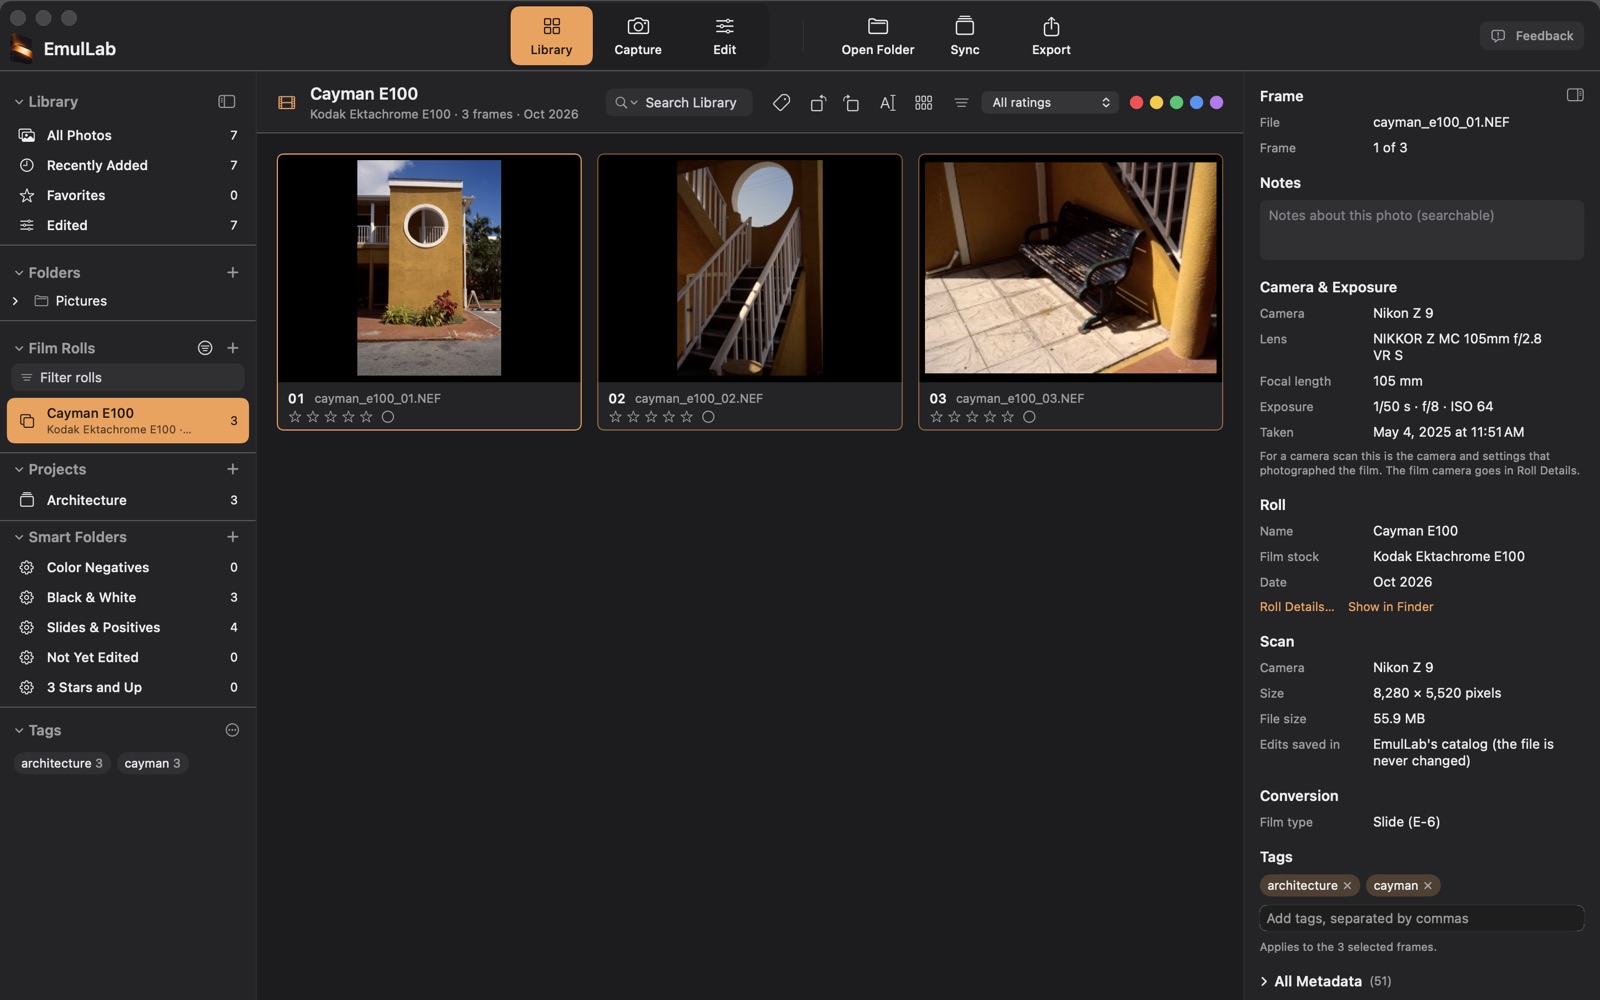
Keep the story together.
Ratings, labels, tags and notes live in a local catalog, never in sidecar files beside your photographs.
- Film Rolls, Projects and Smart Folders
- Star ratings, color labels, tags and notes
- Search the whole library, or one folder and the folders inside it
All library tools 7
- Library views: All Photos, Recently Added, Favorites and Edited
- Folders: browse your disk as it is; a folder becomes a roll the first time you rate or edit in it
- Roll details: camera, lens, film stock, ISO and development
- Projects: hand-picked photos from any rolls
- Smart Folders: built-in ones, plus any search you save
- History of every saved change, with named versions to go back to (Settings › Editing)
- Batch rename, and a daily backup of the catalog
Finish with files you own.
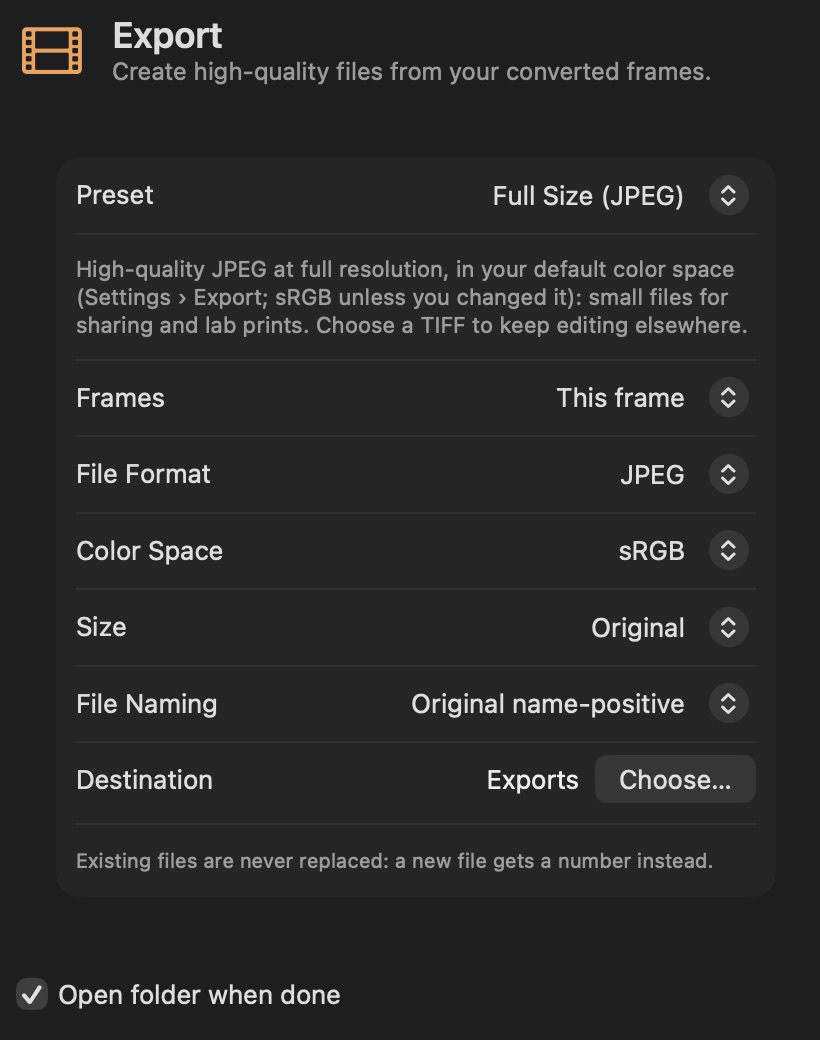
Export full-resolution photographs for sharing, archiving, or printing in the application you already use.
- 16-bit TIFF, JPEG and PNG
- Built-in presets, size and file naming, for one frame or the whole roll
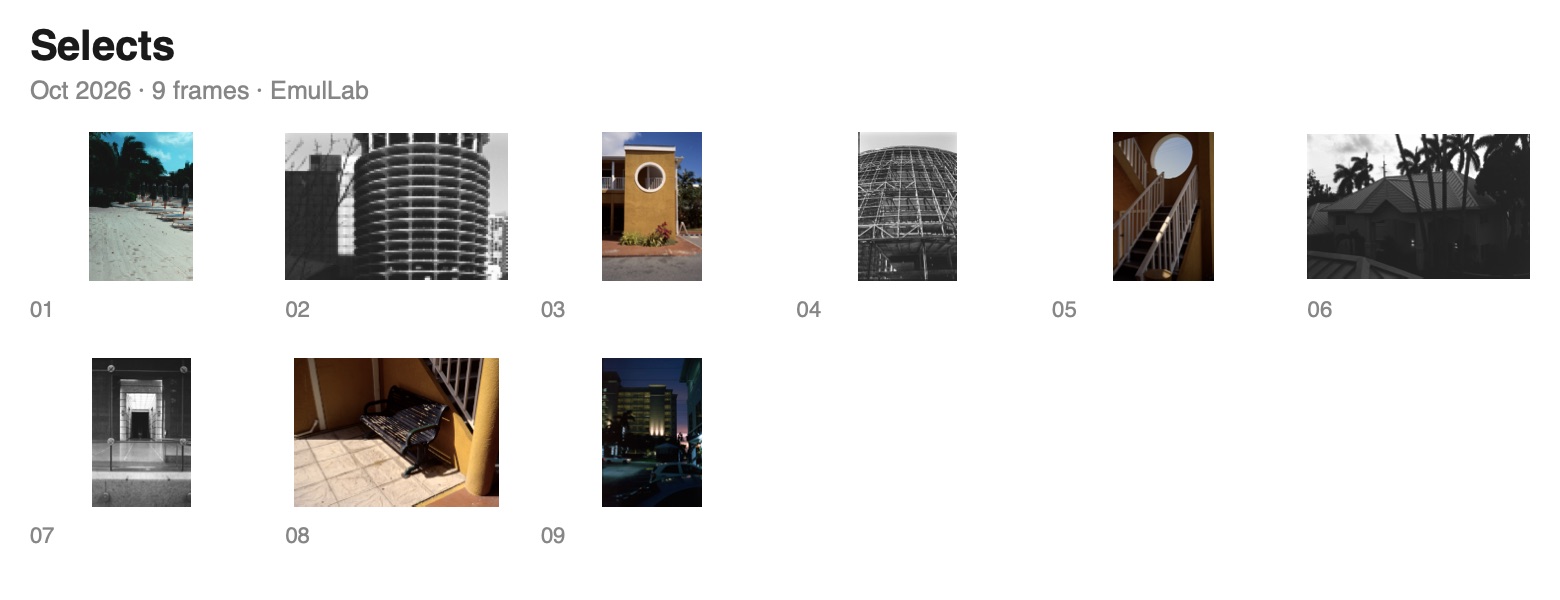
- Contact sheets as PDF or JPEG
More about export 4
- sRGB, Display P3, Adobe RGB or ProPhoto RGB, with the color profile embedded
- Capture date, camera, rating, label and keywords written into each file
- Existing files are never replaced: a new file gets a number instead
- There’s no print module yet: print exported files from another application