Built for
the negative.
What EmulLab does with a negative, from the scan to the exported file, in plain words. Most of it happens on its own as a frame opens.
Start with the scan.
It stays as it is.
EmulLab is made for negatives photographed with a digital camera and saved as camera RAW files. Flatbed and lab scans work too: TIFF, JPEG or PNG files that are usually positives already, so they’re edited, not inverted a second time.
- Common camera RAW files open, plus TIFF, JPEG and PNG: which files open.
- The scan file is never changed. Edits, ratings and tags are kept in a catalog on your computer, and export writes new files.
- There’s no import step: open a folder of scans and it’s a roll.
The film border
is the reference.
The film base is the clear, unexposed film around the picture: orange on a color negative. EmulLab finds it in each frame, measures it, and balances the color against it, so the orange mask goes and the border turns neutral.
That’s why a scan should show a little of the border, and why the border shouldn’t clip to white: a border with no detail left can’t be measured. In Conversion, Sampled from border means it was found and measured. When something is off, a note at the bottom of the photo says so:
- No film border found: Analyze Roll lends the frame the roll’s base.
- Film border is near clipping: scan with a little less exposure next time.
- Bare light around the film may throw off the film base: mask the light, or Analyze Roll.
More than
an inversion.
Flip a color negative’s colors and the picture comes out blue and flat: the orange mask is still in it. EmulLab converts in three steps, on its own, as each frame opens:
- Balanced off the film border. The measured border is made neutral, and the frame’s color is balanced against it.
- In the camera’s own color. The negative is converted from the colors the camera recorded, so the orange mask doesn’t pull the hues off.
- A print-like curve. The positive takes its contrast from a curve shaped like photographic paper’s, so highlights and shadows roll off gently, as in a print.
The film’s character stays. Auto Color, at 25% to start, moves each frame only part of the way toward neutral, so the light’s color stays: a tungsten scene stays warm. Black and white negatives are measured as one channel, with no mask. Slides aren’t inverted at all, and keep their own color unless you choose Auto balance.
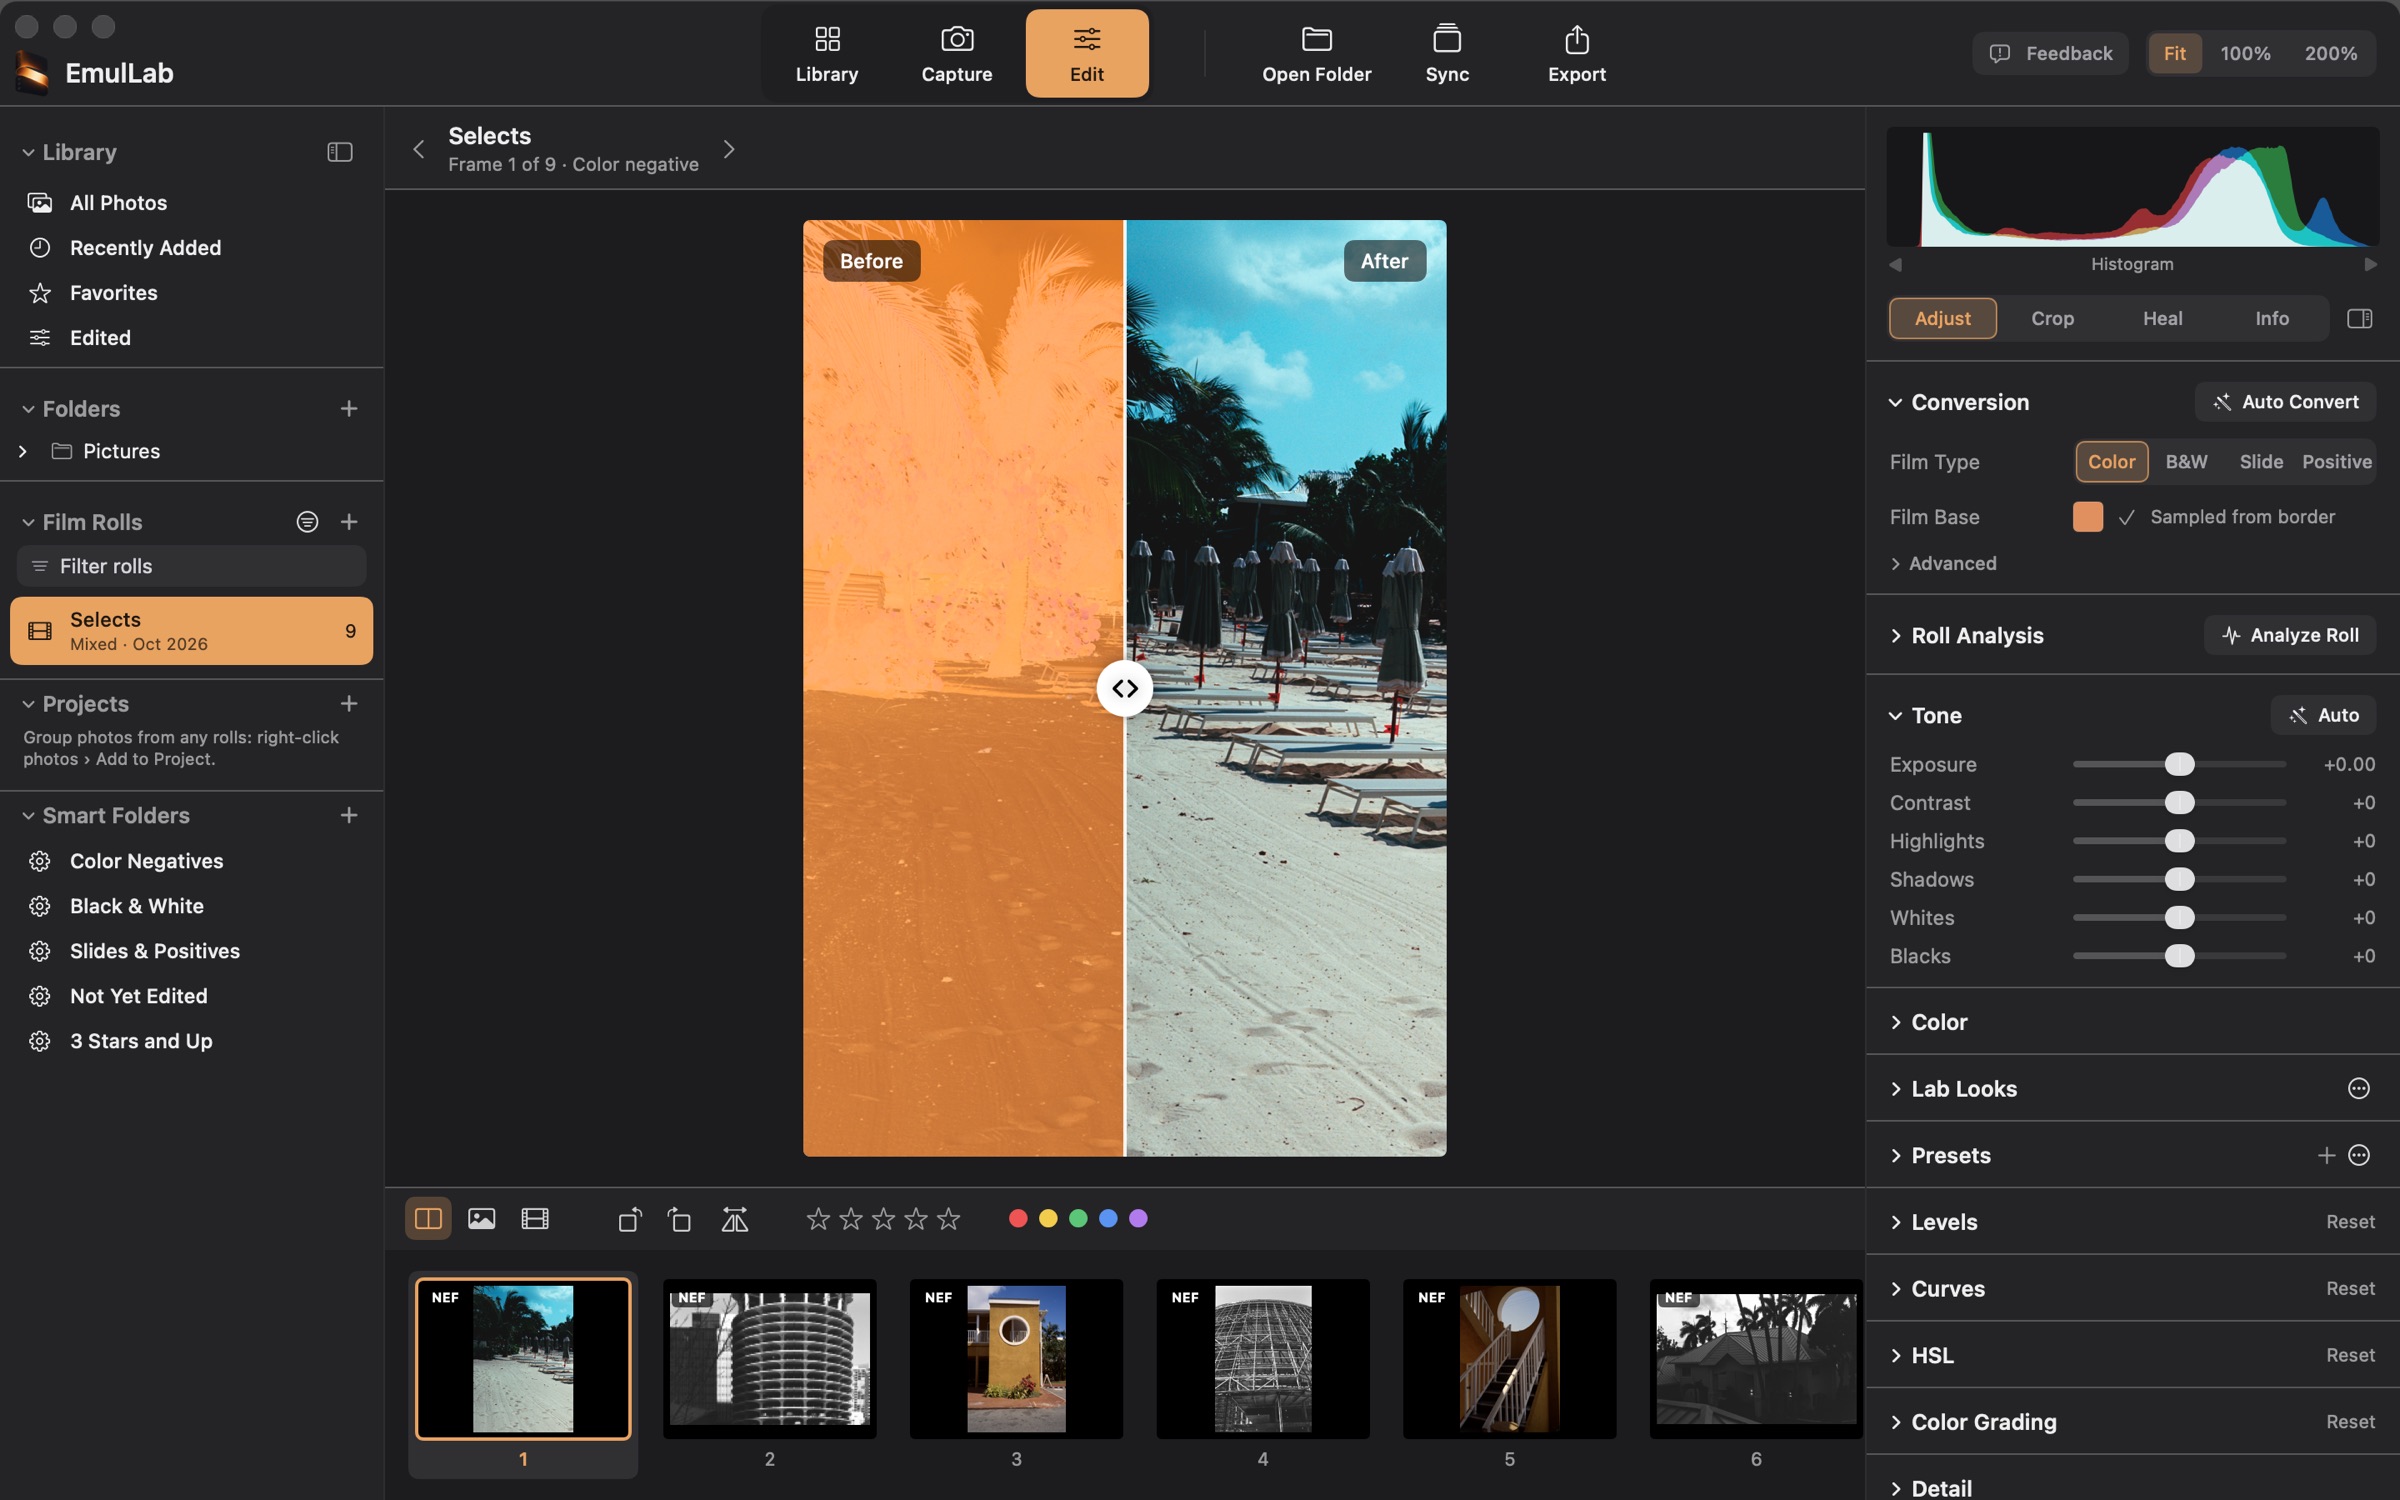
To fine-tune, click the eyedropper and then something that should be gray, or use the color sliders. Convert color negatives, step by step
One roll,
one look.
Frames from one roll were shot on the same film and developed together, so they can be measured together. In the Adjust tab, under Roll Analysis, Analyze Roll measures every negative in the roll:
- One film base for the roll, measured on the frames with a clean border and given to frames without one.
- Same color balance for every frame, for a roll shot in one light, so neighboring frames match.
- Same contrast for every frame: like printing a roll, one contrast, with each frame’s exposure set on its own.
A frame can go its own way. If the roll’s contrast turns too much of one frame white, the result names that frame, and Use Its Own Contrast gives it its own while the others keep the roll’s. Turn a switch off and every frame gets its own color balance or contrast. If the film bases don’t match (mixed film, or a different scan exposure), EmulLab names the frames that differ and asks before locking.
Updates don’t change
your finished edits.
Every conversion keeps the version it was made with.
When the conversion improves, frames you converted earlier keep looking exactly as they did. Nothing moves until you ask: Conversion shows an Update button on such a frame, and a roll’s right-click menu in the sidebar has Update Roll to Current Conversion. Updating may change the look; ⌘Z undoes it.
Behind it, each conversion version is pinned by automated tests on reference frames, so a change that would alter how an existing edit looks has to become a new version instead. A roll you finished looks the same after every update.
Export in the
color space you need.
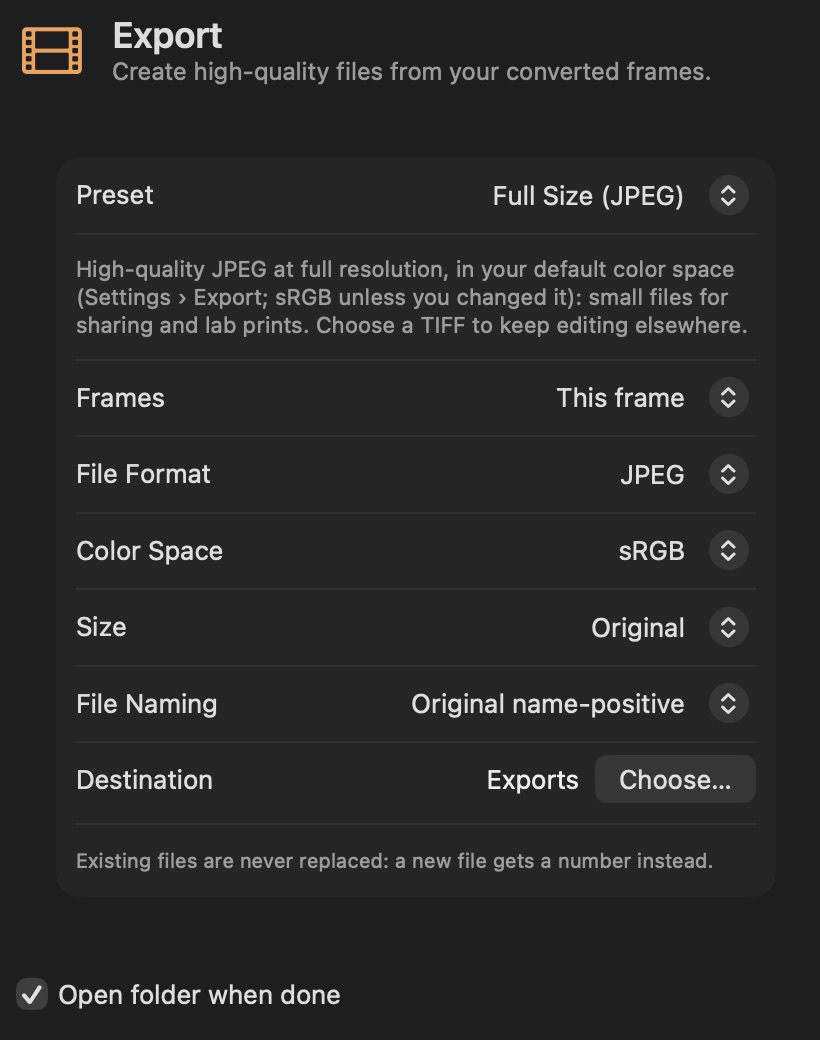
Export makes 16-bit TIFF, JPEG or 16-bit PNG files in one of four color spaces. The color profile is embedded in each file, with the capture date, camera, rating, label and keywords.
| Color space | What it’s for | Where it’s used |
|---|---|---|
| sRGB | For the web, phones and most screens: the safe choice for sharing. | The first default (Settings › Export), and the Web and Social presets. |
| Display P3 | Wider color for Apple and other wide-gamut screens. | Choose it under Color Space, or as the default. |
| Adobe RGB (1998) | Wider gamut for prints and professional workflows. | The High Resolution (Print) preset: a 16-bit TIFF. |
| ProPhoto RGB | The widest gamut, for 16-bit archives and editing. Too wide for an 8-bit JPEG: smooth skies can band, so use TIFF or PNG. | The Archive (ProPhoto TIFF) preset. |
Flatbed and lab scans aren’t inverted or rebalanced: their colors change only with your own adjustments. To keep all of them, export in the scanner’s color space or a larger one.
How we
validate color.
Two words, used with care on this site:
- Compatible
- The file opens and converts.
- Validated
- The conversion was checked on real negatives scanned with that camera.
Today one camera is validated: the Nikon Z 9, on color and black and white negatives and slides. RAW files from other cameras are compatible: they open and convert, but their color hasn’t been checked camera by camera yet. Validated doesn’t mean perfect: some films still convert with a cast (see known issues).
Validating another camera takes real negatives scanned with it. If you scan with a different camera, tell us how it went.